Napari nucleAIzer plugin
A GUI interface for training and prediction using the nucleAIzer nuclei detection method.


![]()
![]()
GUI for the nucleaAIzer method in Napari.
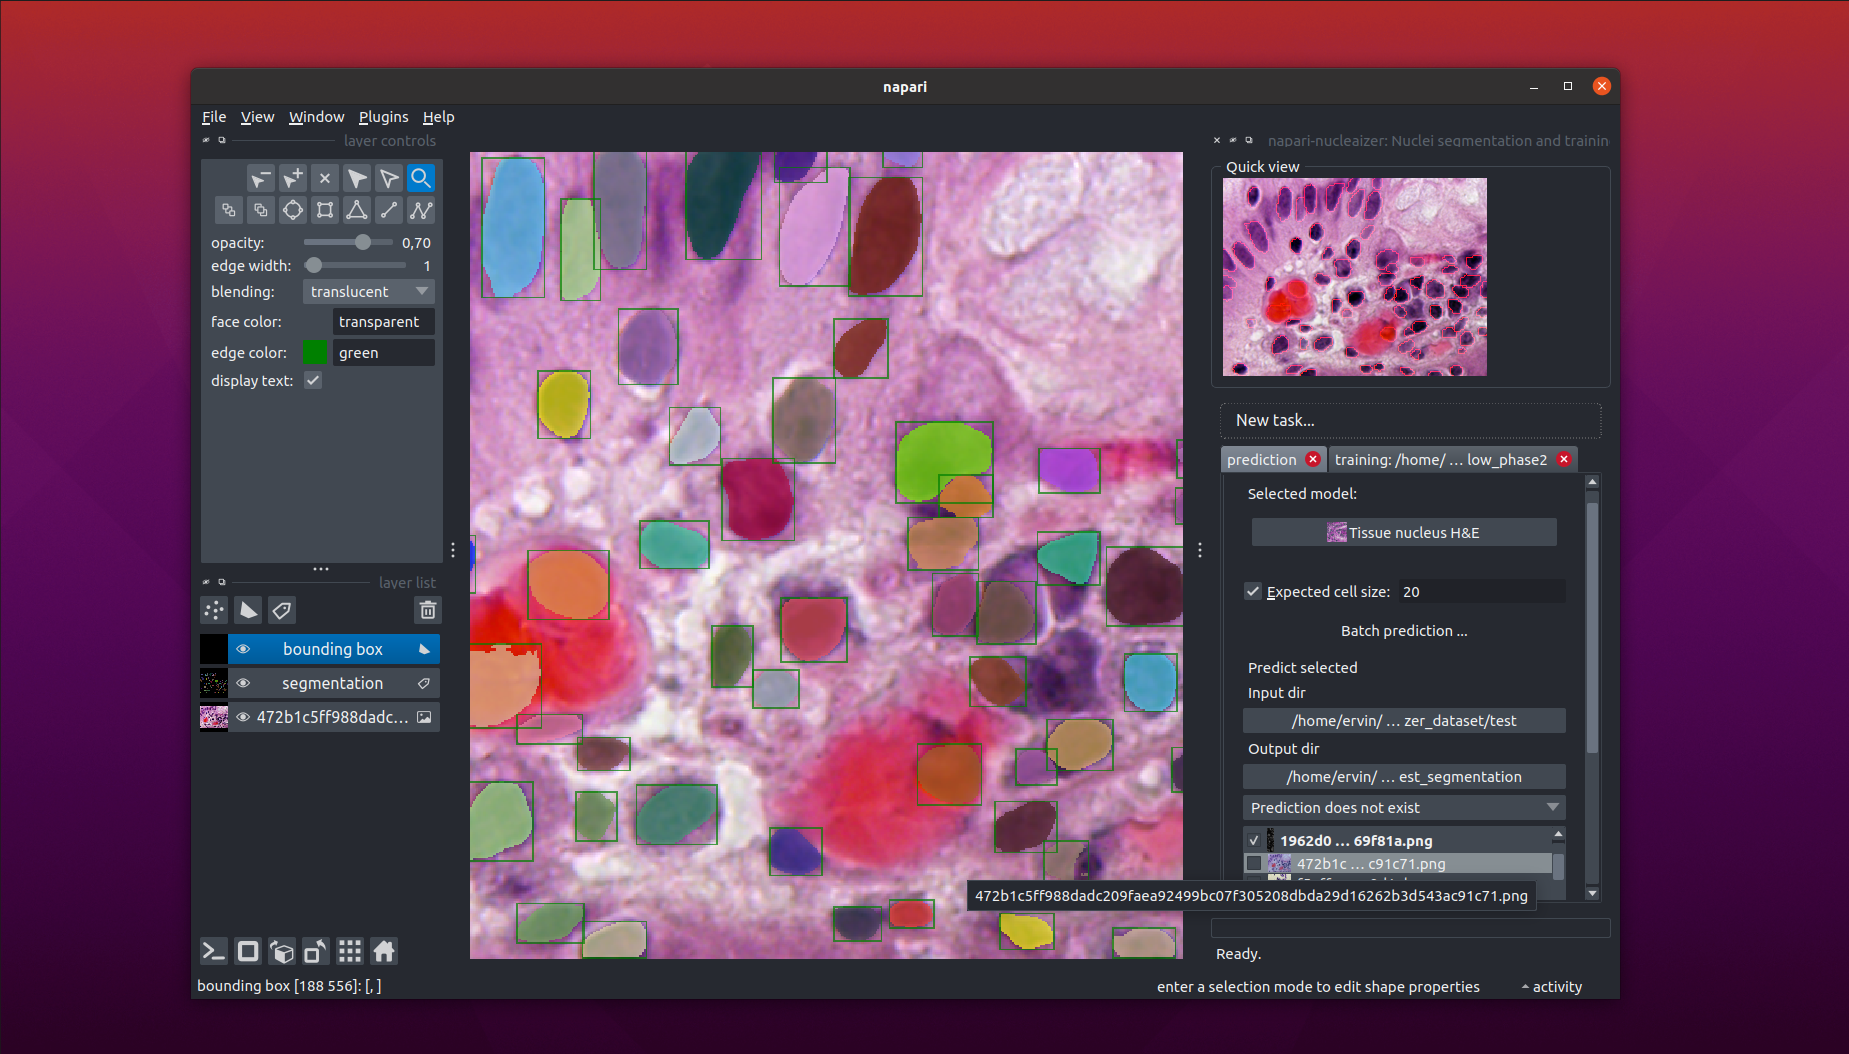
Overview
This is a napari plugin to execute the nucleaizer nuclei segmentation algorithm.
Main functionalities
Using this plugin will be able to
- Load your image into Napar, then outline the nuclei.
- Specify an image folder containing lots of images and an output folder, and automatically segment all of the images in the input folder.
- If you are not satisfied with the results, you can train your own model:
- You can use our pretrained models and fine tune them on your data.
- You can skip the nucleaizer pipeline and train only on your data.
Supported image types
We have several pretrained models for the following image modelities:
- fluorescent microscopy images
- IHC stained images
- brightfield microscopy images,
among others. For the detailed descriptions of our models, see: https://zenodo.org/record/6800341.
How it works?
For the description of the algorithm, see our paper: "Hollandi et al.: nucleAIzer: A Parameter-free Deep Learning Framework for Nucleus Segmentation Using Image Style Transfer, Cell Systems, 2020. https://doi.org/10.1016/j.cels.2020.04.003"
The original code (https://github.com/spreka/biomagdsb) is partially transformed into a python package (nucleaizer_backend) to actually perform the operations. See the project page of the backend at: https://github.com/etasnadi/nucleaizer_backend.
If you wish to use the web interface, check: http://nucleaizer.org.

Install
-
Create an environment (recommended).
-
Install napari:
pip install "napari[pyqt5]". Other methods: https://napari.org/tutorials/fundamentals/installation.html -
Install the plugin into napari:
-
User mode from PyPI: start Napari (command line:
napari) and select he Install/Uninstall Plugins... under the Plugins menu. In the popup, filter fornapari-nucleaizer. -
Developer mode: clone this project and use
pythhon3 -m pip install -e <path>to install the project locally into the same evnrionment as napari. It has the advantage that you will have the latest version.
-
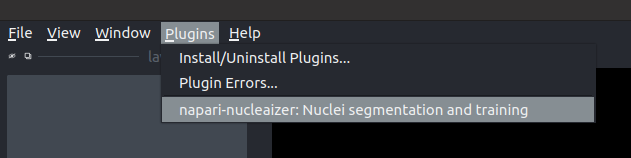
Run
- Start Napari by calling
naparifrom the command line. - Then, activate the plugin in the
Pluginsmenu. If you successfully installed the plugin, you have to see something like this:
Further help
See the documentation (work in progress).
Issues
Use the github issue tracker if you experinece unexpected behaviour.
Contact
You can contact me in e-mail where MY-INSTITUTE is brc.hu.
Version:
- 0.2.5
Last updated:
- 2023-09-01
First released:
- 2021-09-08
License:
- BSD-3